
Customer Portal Setup
The Customer Portal is available for hosted customers and can be setup for on-premise installations. For the hosted URL, contact BizSpeed customer support.
The customer portal allows your customers to login and see their delivery history, upcoming orders and unit filling. Your customers can view delivery receipts (POD receipts as PDF’s) and export order history and unit filling to Excel.
There are some keys to easy customer portal access:
- Identify a master (parent) customer.
- Assign this parent to all ship-to locations (customers) that are under them.
- Make sure the master customer is ENABLED. If you disable it, all sub-accounts (ship-to’s) will be inaccessible in the portal.
- Make sure the master customer has portal access enabled.
- Ensure each user is enabled.
See the following screenshot to assign a parent customer.

To setup a customer for portal access, follow these steps:
1 – Logon as the admin, and access the Customer Portal in the Admin section. This will list all customers. You can see who has portal access.
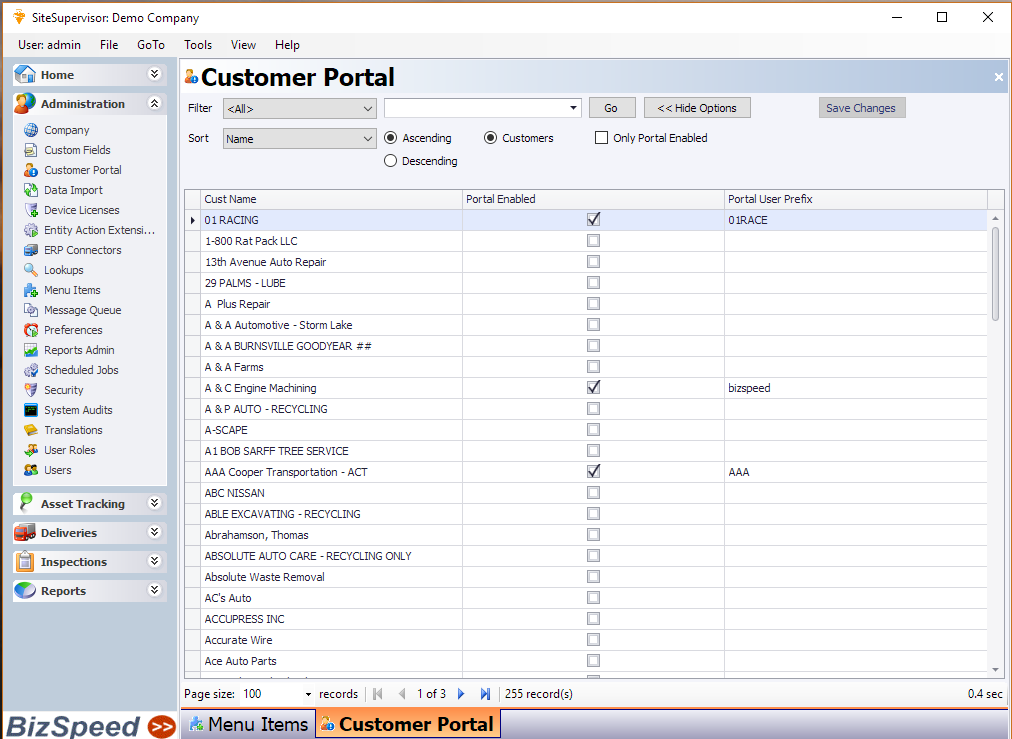
2 – Find the customer and double click to load their portal setup.

- Enter their portal user prefix and check the portal access. The prefix is used to identify their users. When you add a user, the username will automatically start with the prefix you enter.
- Click ‘Save’
3 – Access the ‘Portal users’ tab.

4 – Click ‘add new’ to add a new portal user.

- Enter their username, which will have the customer prefix prepended.
- Enter the remaining fields. Phone is not required.
- Save and close
For your customer, give them your company code, their userID and password. They will logon to the web dispatch and ONLY see the portal functions.
Key steps to ENSURE YOU FOLLOW:
- Create a user role ‘Portal User’
- For each customer ship to location that you want the primary customer to have, you need to set the parent customer on the main tab of the customer edit form. Go to the customer list, find the customer ship to, open and edit. Lookup the parent that you just set.